How to Style a Champagne Tower (Engagement, Wedding and Bridal Shower)
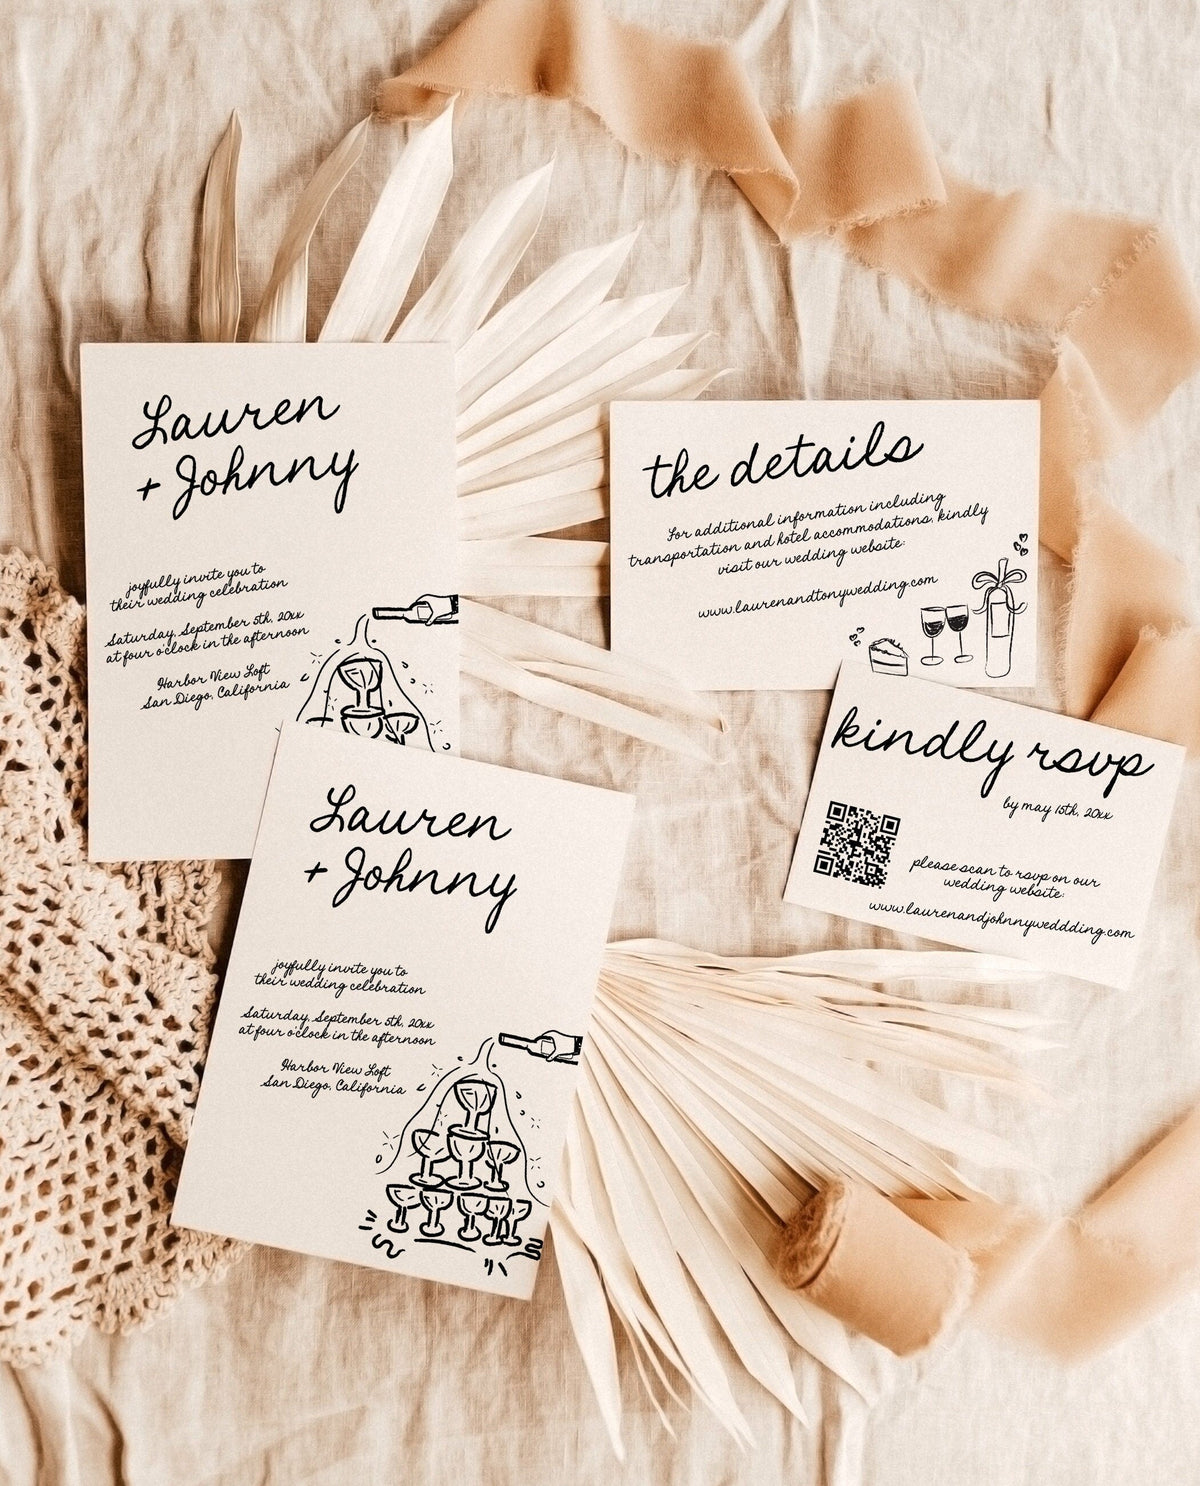
Let's be real: a champagne tower is mostly an act of nerve. You stack a pile of glasses into a pyramid, you pour from the top, and you pray to whoever's listening that gravity and physics cooperate while everyone films it. And here's the thing nobody tells you — it almost always works. The fear is bigger than the difficulty. By the end of this post, you'll know exactly how many glasses you need, how to build the thing so it doesn't wobble, how much champagne to actually buy, and how to style the table around it so it looks intentional instead of like a science fair project.
A champagne tower is back in a big way, and not just at weddings. Engagement parties, bridal showers, milestone birthdays, New Year's Eve, "we bought a house" parties — anywhere you'd normally do a toast, somebody is now stacking coupes. So whether you're planning your own celebration or you got roped into hosting one, this is your complete, no-panic guide to the champagne tower.

What a Champagne Tower Actually Is (and Why It's Having a Moment)
A champagne tower is a pyramid of glasses — traditionally shallow, wide coupe glasses — stacked in tiers and then filled by pouring from a single glass at the very top. The champagne cascades down through the levels, filling each glass below, until the whole pyramid is glowing and bubbling. It's part drink station, part party trick, part photo op.
People have been doing this since at least the 1920s and '30s, when coupe glasses were the standard and Gatsby-era glamour was the whole vibe. It faded for a few decades, then came roaring back — partly because of social media. A champagne tower is basically built for video. The pour is slow, golden, dramatic, and satisfying, which is exactly what does well on a phone screen.
But here's why it's having a real moment beyond the algorithm: it's one of the few decor elements that's also an activity. It gives the party a moment. There's a before (everyone gathers), a during (the pour, the gasps), and an after (everyone grabs a glass and toasts). Most decor just sits there. A champagne tower does something. That's why it's showing up at everything from engagement parties to 40th birthdays.
And honestly? It looks a lot more expensive and complicated than it is. That's the secret. You can build a genuinely beautiful tower with rented glasses and a few bottles of grocery-store sparkling wine, and people will treat you like you hired a catering company.
How Many Glasses and Bottles You Need (the Real Numbers)
This is the question everyone has, and most guides are weirdly vague about it. So let's get specific. A champagne tower is built in square layers: the top is always a single glass, and each layer below is a larger square. The math works out to square numbers stacked on top of each other.
Here's the breakdown by tier height, with roughly how many guests each one suits and how much champagne it takes to fill:
Champagne Tower Size Chart
- 2-tier (5 glasses): 1×1 on top + 2×2 below. Tiny and cute. Good for a 2–6 person toast, a styled photo, or a small bridal shower vignette. Needs about 1 bottle.
- 3-tier (14 glasses): 1 + 4 + 9. The sweet spot for small parties of roughly 10–20 guests. Looks like a "real" tower but is very forgiving to build. Needs about 2 bottles.
- 4-tier (30 glasses): 1 + 4 + 9 + 16. This is the crowd-pleaser. Great for engagement parties, bridal showers, and birthdays of about 25–40 guests. Needs roughly 3–4 bottles.
- 5-tier (55 glasses): 1 + 4 + 9 + 16 + 25. Now we're talking wedding-reception drama. Suits 50–70+ guests and genuinely fills a table. Needs about 6–7 bottles.
- 6-tier (91 glasses): 1 + 4 + 9 + 16 + 25 + 36. Big-event territory — large weddings, galas, milestone anniversaries. Needs about 10–11 bottles and a very sturdy, very level table.
A few honest notes on this chart. First, you don't fill every glass to the brim in a tower — the champagne spreads across all of them, so each glass gets maybe a third to half full. That's normal and it's actually better, because brimming coupes in a stacked pyramid is how you get spills. Plan to top glasses off individually after the pour if people want more.
Second, always buy at least one extra bottle beyond the chart. You will lose some to foam, to overpour at the top, and to the inevitable glass someone knocks. Bubbles are forgiving on flavor but unforgiving on volume.

A Quick Way to Estimate for Any Guest Count
If you just want a rule of thumb: plan for one coupe per guest, then round up to the nearest tower size from the chart. Thirty guests? A 4-tier (30 glasses) is perfect and everyone gets a glass straight off the tower. Fifty guests? Go 5-tier (55) so there are a few spares. You don't need a glass for every single person if you're also topping off and refilling — but it's the cleanest way to plan, and leftover glasses are never a problem.
What Glasses to Use: Coupes, Not Flutes
This part matters more than anything else, so I'm putting it in bold: use coupe glasses, not flutes. A coupe is the wide, shallow, saucer-shaped glass — the vintage one you've seen in old movies. A flute is the tall, narrow one. Flutes are great for drinking; they are terrible for stacking.
Here's why coupes are non-negotiable for a tower:
- The wide rims touch and support each other. When you set four coupes in a square, their rims meet in the middle and create a stable little nest for the glass that sits on top. Flutes can't do this — their rims are too small and they're top-heavy.
- The shallow bowl lets champagne cascade. Champagne poured into the top coupe overflows the wide rim and spills evenly into the four below it. That's the whole magic. A narrow flute traps the liquid and the cascade stalls.
- They're sturdier under weight. A tall flute under the weight of 50 other glasses is asking to snap at the stem. Coupes carry the load low and wide.
Use real glass coupes if you can — they look better, stack more reliably, and the cascade is prettier. You can rent coupes from almost any party rental company for cents apiece, which is genuinely the move for anything 4-tier and up. If you're doing a smaller home tower and worried about breakage, there are good acrylic/plastic coupes that look surprisingly convincing, but real glass is sturdier and won't tip as easily.
One more thing: get all the same glass. Mismatched coupes mean mismatched rim heights, and mismatched rim heights mean a wobbly, uneven tower. This is the one place where "they're all kind of similar" will absolutely betray you. Same glass, same size, every time.
How to Build a Champagne Tower Safely (Step by Step)
Okay, the actual build. This is the part people are scared of, and I promise it's more forgiving than it looks. Do a dry run before the party — stack it once, with empty glasses, just to learn the rhythm. Then you'll be calm when it counts.
Step 1: Start With a Rock-Solid, Level Table
This is the single most important step, and it has nothing to do with the glasses. Your table must be sturdy and dead level. A wobbly card table or a folding table on grass is how towers come down. Test it: push on the corners, make sure nothing rocks. If you're outdoors, find firm flat ground, and bring a small level if you have one (your phone has a level app). Put down a tablecloth that's pulled tight and flat — wrinkles under the base glasses cause tilt.
Step 2: Lay the Base Layer
Set your bottom square of glasses, rims almost touching, in a tight grid. For a 4-tier that's a 4×4 grid of 16 glasses. Nudge them so each glass is just barely kissing its neighbors. The tighter and more even this base, the more stable everything above it will be. Take your time here — five extra minutes on the base saves you the whole tower.
Step 3: Stack the Next Layer in the Pockets
Here's the trick that makes it click: each glass on the next layer sits in the little pocket created by four rims meeting below it. Don't center a glass over another glass — center it over the seam where four glasses meet. So the 9-glass layer nests into the dimples of the 16-glass base, the 4-glass layer nests into the 9, and the single top glass nests into the four below it. Work slowly, one glass at a time, and don't bump the table.
Step 4: Stabilize and Check
Once it's stacked, gently rest your hands near the base and look across the top — is it level? Are any glasses leaning? Fix them now, while it's empty and forgiving. A finished, empty tower should feel solid, not jiggly. If it jiggles, your base isn't tight enough; take a layer off and re-seat it.

Step 5: Chill Your Champagne Separately
Do not build the tower with cold, wet, condensation-covered glasses — they slip. Build with dry glasses at room temperature, and keep your champagne chilling in a bucket nearby. You'll pour cold champagne into a room-temp tower, which is totally fine. Cold-on-cold with condensation is a slip hazard; cold-on-dry is stable.
How Much Champagne to Buy (and What Kind)
Back to volume, because this trips people up. A standard bottle is 750ml, which is about 25 ounces. As a rough guide, one bottle fills the equivalent of 6–8 coupes the way you fill them in a tower (a third to half full). Match that against the bottle counts in the size chart above and add a buffer.
Here's the simple version:
- 3-tier: 2 bottles, plus 1 spare = 3 total.
- 4-tier: 3–4 bottles, plus 1 spare = 5 total.
- 5-tier: 6–7 bottles, plus 1–2 spares = 8 total.
You actually want extra bottles for two reasons. First, the tower pour uses less than you'd think — but you'll then top people off and refill empties, so the real-world consumption is higher. Second, you want a "show bottle" and "drinking bottles." Which brings me to the smart-money tip:
Pour the tower with the cheap stuff, drink the good stuff. No one can taste the difference in a cascading pour — it's foamy, it's mixed across 30 glasses, and it's mostly a visual moment. Use an inexpensive cava, prosecco, or sparkling wine (the $10–15 range is completely fine) for the tower itself. Then have a couple of nicer bottles aside to refill the glasses people are actually savoring. You get the drama and the flavor without paying premium prices for foam.
One practical note: prosecco and cava tend to foam more than true champagne, which makes the cascade look even more dramatic. So the budget choice is also often the prettier choice. Funny how that works.
Where a Champagne Tower Actually Works
The wedding is the obvious one, but a champagne tower earns its keep at a lot of celebrations. Here's where it shines, and how to scale it for each.
Engagement Party
This might be the best fit of all. An engagement party is celebratory but lower-stakes than a wedding, the guest count is usually manageable (25–40), and everyone's already in toast mode. A 4-tier tower as the centerpiece of your drinks table is exactly the right amount of drama. Style it next to a few framed photos of the couple, and you've got your whole focal point. If you're pulling together engagement party decor, our engagement collection has signs and party pieces — both editable digital templates and printed-and-shipped — that coordinate with the look.
Bridal Shower
A daytime bridal shower with mimosas in mind? A smaller 3-tier tower fits a bridal shower beautifully, especially with a pour of prosecco or sparkling rosé for that soft pink cascade. It pairs perfectly with the games and the dessert table. If you're planning one, the bridal shower collection and the matching bridal shower invitations tie the stationery to the tower, and our roundup of bridal shower games that aren't cheesy gives you the rest of the afternoon. For the full timeline, our bridal shower planning checklist maps out everything from three months out — and you can drop in printed party games to round out the table.
Wedding
The classic. A 5- or 6-tier tower at a wedding reception is a genuine moment — usually timed with the toasts or the entrance to cocktail hour. It doubles as decor and as the champagne service itself, which can simplify your bar plan. Build it where there's room for a crowd to gather and film, and make sure your venue's table can handle it. Pair it with the rest of your signage from the printed wedding collection (or browse all wedding designs), and if you're still mapping out your day, our complete wedding sign checklist covers every other sign you'll need. A coordinating wedding welcome sign by the entrance ties the whole look together, and a save the date in the same palette starts the theme months early.
Milestone Birthday
30th, 40th, 50th — a champagne tower turns "another birthday" into an event. Size it to your guest list (a 4-tier for 30ish people is a safe default) and lean into the number with a custom sign from the printed birthday collection. It works just as well for a graduation celebration (see our graduation party signs and decor ideas), and for New Year's Eve, retirement parties, and big anniversaries. Anywhere there's a toast, a tower belongs.

How to Style the Table Around the Tower
A champagne tower sitting on a bare folding table looks like a setup. A champagne tower sitting on a styled table looks like a moment. The good news: the styling is simple and you don't need much. The tower does the heavy lifting; everything else is just framing it.
Add a "Champagne Tower" Sign
This is the single highest-impact, lowest-effort upgrade. A small framed or standing sign that says "Champagne Tower," "Pop, Fizz, Clink," "Bubbly Bar," or your couple's names instantly tells guests what's happening and makes the whole thing look planned. It also gives photos a clear focal point and a place for your names, the date, or the occasion.
You can do this two ways with us. Grab an editable digital template from the signs and posters collection and print it yourself at home or a local print shop, or order it printed and shipped so it arrives ready to stand up. A foam-board sign is sturdy enough to live on the table all night — if you're deciding on size and material, our guide to custom foam board signs walks through the options. For more on the small "this is the X table" signs that make stations read as intentional, the welcome and station sign wording ideas post is full of phrasing you can borrow.
Build a Simple Backdrop
A backdrop behind the tower does two things: it gives the cascade something to shine against in photos, and it hides whatever boring wall or window is behind your table. You don't need anything elaborate. Options, easiest first:
- A length of fabric — a curtain panel, a velvet drape, or even a nice tablecloth pinned to the wall.
- A balloon garland in your color palette, arched over or behind the table.
- A greenery or floral wall if you want to go bigger.
- A printed backdrop or large poster sign with the couple's names, the date, or the occasion — which also pulls double duty as your "Champagne Tower" signage.
Keep the backdrop in the same color family as the rest of your decor so the tower reads as part of the party, not a random installation.
Frame It With Flowers and Light
A few low floral arrangements or loose greenery flanking the base of the tower softens the whole thing and hides the edge of the tablecloth. Don't crowd the tower — you need room to pour and room for hands to grab glasses — but a bud vase or two on either side does a lot. Add candles (flameless is safest near a glass tower and a crowd) or a string of warm fairy lights along the table edge, and the cascade will catch the glow. Champagne plus soft light is most of the magic in every photo you've ever seen of these.
Coordinate the Rest of the Stationery
If the tower is the centerpiece, let it set the tone for your other paper goods so everything feels like one event. Matching printed invitations or editable digital invitation templates, a save the date, drink-menu cards, and thank-you cards in the same palette make a $40 sign and a rented set of glasses look like a fully designed celebration. You can mix and match across the whole printed signs and posters range to keep fonts and colors consistent.
The Pour Moment: Who Does It and How
The pour is the whole point, so let's make it good. This is a planned moment, not a "grab a bottle whenever" thing. Gather people first — the pour is best with an audience and phones out.
Who Pours
Pick one designated pourer ahead of time and tell them they're doing it. Good choices: the host, the guest of honor, the couple together (hands stacked on one glass is a sweet photo), a parent, or a confident friend who won't get flustered. The one rule: not someone who's already several drinks in. You want steady hands. Have a second person ready with backup bottles so the pour doesn't stall while someone runs for more.
How to Pour
- Open the bottle calmly — ease the cork out, don't launch it. A flying cork into a glass pyramid is a disaster movie.
- Pour slowly and steadily into the top glass only. Let the top coupe overflow and feed the layers below. Don't move around trying to fill individual glasses — the tower does that for you.
- Keep a continuous stream. A steady pour cascades evenly; a start-stop pour creates uneven foam and overflow. Let it run.
- Pause to let it settle if the foam builds up too fast, then continue. Foam will subside and reveal more room.
- Switch bottles smoothly when one runs out — your backup person hands you the next, you keep going.
- Stop when the bottom layer is mostly full. You don't need every glass perfectly even. Then toast, let everyone grab a glass, and top off individually after.
Total pour time for a 4- or 5-tier is maybe a minute or two. It feels longer in the best way. Designate someone to film it from the start — you'll want the whole cascade, not just the end.

Common Champagne Tower Disasters (and How to Dodge Them)
Nothing here is meant to scare you — towers are forgiving. But most disasters come from the same short list, and all of them are avoidable. Here's the cheat sheet.
The Wobbly Table
The number one cause of a collapsed tower isn't the glasses — it's the surface. An unstable or unlevel table, especially outdoors on grass or pavers, is the real villain. Fix: test the table hard before you build, level it, and never put a tower on a flimsy folding table or anywhere a kid might run into it. Tuck the table against a wall so there's no traffic behind it.
Mismatched or Wet Glasses
Different glass sizes make the rims sit at different heights, which makes the stack lean. And condensation-slick glasses slide apart under weight. Fix: identical coupes, every one, and build them dry. Chill the champagne, not the glasses.
Filling Glasses Too Full
People instinctively want to brim every coupe. In a tower, that's how you get overflow running off the table and glasses too heavy to stay put. Fix: a third to half full per glass is the target. Top off individually after the toast if people want more.
The Cork Cannon
Opening a bottle with too much enthusiasm right over the tower is a genuine hazard — a popped cork or a foam eruption straight into the pyramid. Fix: open every bottle off to the side, away from the glasses, ease the cork out quietly, then bring it to the top to pour.
No Drip Plan
Champagne overflows by design here, and it goes somewhere. If that somewhere is a wood floor or a rented linen, you've got a problem. Fix: a tray, a charger, or a waterproof layer under the base catches the runoff. A few towels stashed nearby handle the rest. Plan for spill and it's a non-event.
Building It Too Early
A tower built two hours before guests arrive is two hours of opportunity for someone to bump it. Fix: build it close to the moment, ideally 20–30 minutes before the pour, once the area is set and the crowd hasn't gathered yet. Do your empty-glass dry run earlier in the day so the real build is fast and confident.
No Backup Pourer or Bottles
Running out of champagne mid-cascade, or having your pourer freeze up, kills the momentum. Fix: extra bottles open and ready, a backup person handing them off, and a designated pourer who knows it's coming.
A Quick Reassurance Before You Go
If you're reading this slightly terrified, take a breath — you're not behind, and you're not in over your head. A champagne tower looks like a high-wire act and is actually closer to stacking cups, just prettier and with better lighting. Do one dry run with empty glasses, get a level table, use matching coupes, pour slow, and you will absolutely pull this off.
And if it leans a little, or one glass sits crooked, or the foam goes everywhere — nobody will remember. They'll remember the pour, the cheer, and the photo. That's the whole point.
Pull It All Together
A champagne tower is the rare party element that's decor, drink station, and main event all at once — and it costs a fraction of what it looks like. Rent your coupes, buy a few extra bottles of the budget bubbly, build on a level table, and let the pour be the moment everyone gathers for.
When you're ready to make the table look as intentional as the tower itself, that's where we come in. A "Champagne Tower" or "Bubbly Bar" sign, a coordinating backdrop poster, and matching stationery turn a stack of glasses into a designed celebration. Start with our printed signs and posters for the tower sign and backdrop, browse the engagement and bridal shower collections for shower and party pieces, and pull from the printed wedding collection if this is for the big day. Every design comes two ways — an editable digital template you print yourself, or printed and shipped ready to stand up. And if you're still deciding which route fits your timeline and budget, our breakdown of editable templates vs. printed and shipped will sort it out in five minutes.
Now go stack some glasses. You've got this.